An Overview of Composting
For thousands of years, humans have been composting in efforts to improve our soil, food, and planet. While it continues to grow in popularity, the thought of household composting grows as well.
Composting is the natural breakdown of organic matter. During the breakdown process, the nutrients from the matter filter back into the ecosystem. When combined and left to sit, the nutrients decompose into the rich fertile soil. Although this process can take up to a year, the household composts shorten that time.
When we create a mimic of natural composting our kitchen waste and lawn scraps we can accelerate the process too. But the question is how can we accelerate the process? Let’s jump into it and learn how.
What Goes into Composting?
Compost requires four primary ingredients: air, moisture, carbon, and nitrogen. Many refer to carbon as the “browns” while nitrogen is the “greens.” The greens consist of fruits, vegetable scraps, grass, and coffee grounds. While brown consist of plant-based materials such a newspapers, leaves, branches, and unbleached brown napkins. During your composting, you’ll want to add in more browns than greens.
Building Up Layers
Composting requires putting layers of greens and browns on top of each other. Layering the these will aid in the composting process. Creating a layer system will induce air to the center of the pile, which is the most vital part. This is where all the heat is stored and where the process of decomposition starts.
DIY Household Composting
Where to Compost
Depending on what you’re looking to compost, there are two options to choose from. You can either do a pile in the yard or buy containers. If you want to use food scraps in your household compost, then a container is suggested to keep rodents from disrupting the process.
Pile Composting
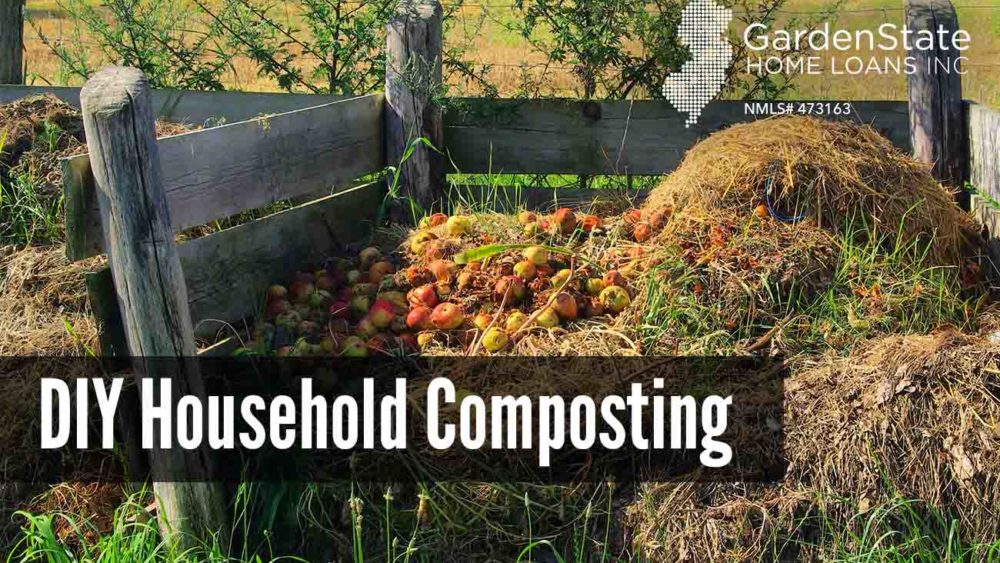
Start by finding an area that’s dry but also near a water source (a hose, for example). The ideal area should be 3 feet by 3 feet, but there aren’t any restrictions, so if you want it larger or smaller don’t hold back. Also, be sure that your compost pile is a good distance away from a garden if you have one. You don’t want any pests in your compost pile near the garden, especially if you have produce growing. Another option you have is placing a wooden barrier around the pile.
Time to start adding in the browns and greens! This is where the layering system comes into play. Start off by placing layers of browns and greens, but remember to add slightly more browns. If the materials you are adding are dry, moisten that up a little. Moisture is one of the key elements to a successful compost pile. Don’t soak them though, keeping them damp is ideal.
Start adding in more greens and grass clippings once you see the decomposing process happen (you can tell by the color and shape of the material). If you’re going to add more food, try burying it in the pile. You should be adding to the pile every week and fluffing it as you do. This promotes aeration which is a big piece of the composting puzzle. Lastly, you can put a tarp on the top to keep moisture in, but this is completely optional.
Bin Composting Overview
First, there are purpose-built bins that have a fitted hatch at the bottom which allows for easy access to the composted material. You can also use a wood slatted bin that has better air circulation which ultimately improves your heap’s ventilation. There’s also a wooden, sectioned bin that allows the heap to rise or fall in height. Believe it or not, you can also use a concrete bin. Unlike the wooden ones, it will never rot or become a part of your compost. Try using large recycling bins if you’re looking for an easy solution.
You take the exact same steps with bin composting as you would pile composting. Because the compost is now in a bin makes no difference to the process, but it is a good idea to keep a small bin in your kitchen to put food scraps in. This way you can easily dump the pile into the bin ultimately reducing the number of trips in and out.
Of course, the worry of pests and rodents is on your mind, but if the compost is managed correctly, that’s something you’ll never have to worry about. There are two options for your indoor compost, which are using bins or a process called vermicomposting that also involves a bin.
Bin Composting Method
The first thing you’ll need to do is find two large rubber or plastic garbage cans. The smaller of the two should be able to fit inside the larger one. Next, drill 4-6 holes on the bottom and sides of the smaller can. After you drill the holes, place a brick on the inside-bottom of the larger can and cover it with sawdust or soil. Put the smaller can on top of the brick. Note that it’s the same process as the outdoor one. You’ll want to layer browns and greens then fluff weekly. Make sure to keep the lid on when you’re not adding materials to your compost.
Vermicomposting Method
This is the exact same process as the bin composting, just using a special kind of earthworm to produce compost.Additionally, it doesn’t need nearly as many materials in the beginning stages. To start, all you need is a layer of dirt, newspaper, or leaves. Place the worms inside and start to feed them with fruits or vegetable scraps. You’ll be surprised how much worms can actually consume. They can eat up to their own weight in organic materials and sometimes more. As time goes on you’ll notice the miracle of composting!
Using Your Compost
It may be difficult to notice when you compost is ready for use sometimes. You’ll know for sure when it’s dark and rich in color, in addition to no noticeable food remnants. If you do see a few chunks here and there, just remove them and add them to your new compost.
Your outdoor compost might take a little longer to decompose than your indoor one. With an outdoor compost, you have countless factors that could disrupt the process which usually takes two months or even two years depending on certain conditions. The indoor method is a more accelerated process, taking between 2-5 weeks. After your compost is ready, it’s time to start placing it in your garden and lawn. Then, sit back and watch the rich nutrients go to work.


Comments are closed.