How to Make Your Own Headboard
Furniture shopping can be extremely stressful. Going from store to store with little success may led to browsing the internet for furniture options. However furniture shopping on the internet may also be a challenge.
Instead of constant shopping, try making your own furniture.
No craftsmanship experience is needed for a DIY piece of furniture. For your first furniture project, a headboard is the most ideal project to start with.
Below are a few tips to create your own headboard.
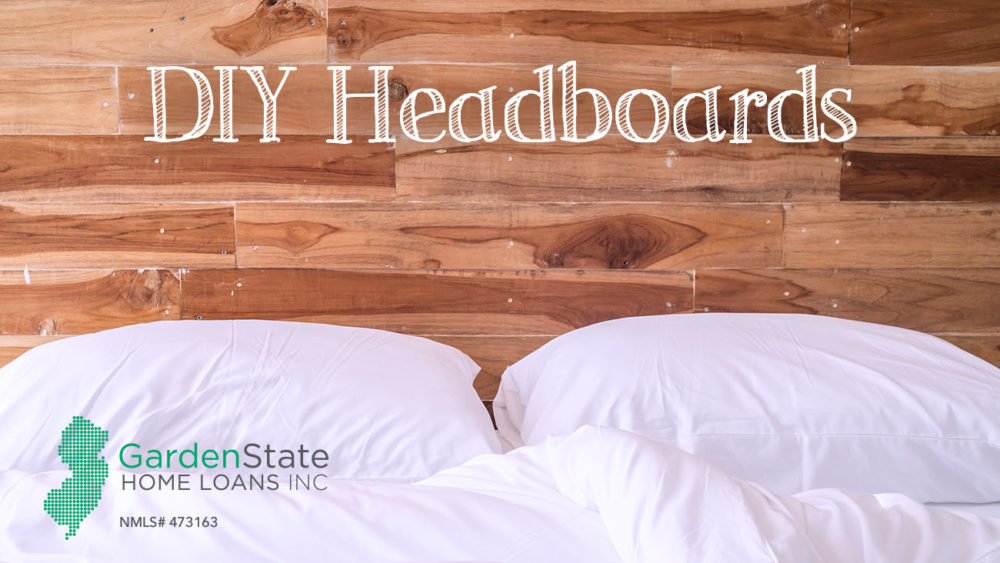
Rustic Wood Headboard (Queen)
Required items:
- 1×6 at 66″ (6)
- 1×4 at 52″ (2) Vertical Supports
- 1×3 at 56″ (1) Horizontal Base Support
- 1×3 at 25″ (1) Small Vertical Support
Total height and width 55″x66″
These are just suggested measurements, feel free to adjust as need be.
Assembly Directions:
- Lay down the 1×6’s. Make sure they are lined up.
- Drill the 1×3 small vertical support to secure the 1×6’s.
- Take the 1×4 vertical supports and place them at each end. Focus on alignment as well. They should be 6-8 in from each end.
- Use the 1×3 horizontal base support and secure the support 6 inches up from the ground.
- Sand the headboard
- Stain or paint
To secure the headboard the wall without creating any physical damage to the wall itself, use felt pads.
Upholstered Headboard ( Any Bed Size)
Required items:
- 1 Plywood
- Foam
- Batting 1/4″ thick
- Fabric
- Glue
- Stapler
- Picture Hooks & Picture Hook Hangers
Depending how comfy you want the headboard the thickness of foam varies.
Assembly Directions:
- Cut plywood to desired height and width
- Glue foam to the plywood
- Place batting over foam and staple
- Put fabric over batting and staple
- Drill picture hooks onto wall
- Attach picture hook hangers on to headboard
- Hang headboard on hooks
This is an easy and stylish way to create a headboard that reflects your style.
Antique Window Headboard (Any Bed Size)
Required items:
- 4 Windows
- Screws & Nails
- Picture Hangers & Picture Hanger Hooks
- Tape
- Hammer
The windows do not have to match each other. Two windows can also be used for this headboard design.
Assembly Directions:
- Tape the wall into 4 sections for proper symmetry
- Attach picture hanger hooks to windows
- Hammer nails into the wall to secure the windows
- Screw picture hangers into the wall, making sure they are aligned with each other
- Place windows on the hooks and adjust them to fit the placement of the nails
This is the easiest DIY headboard to create. Don’t worry if the paint is chipping off. It adds to the antique look!
Don’t just settle for something you like. Create a headboard you love!


Comments are closed.