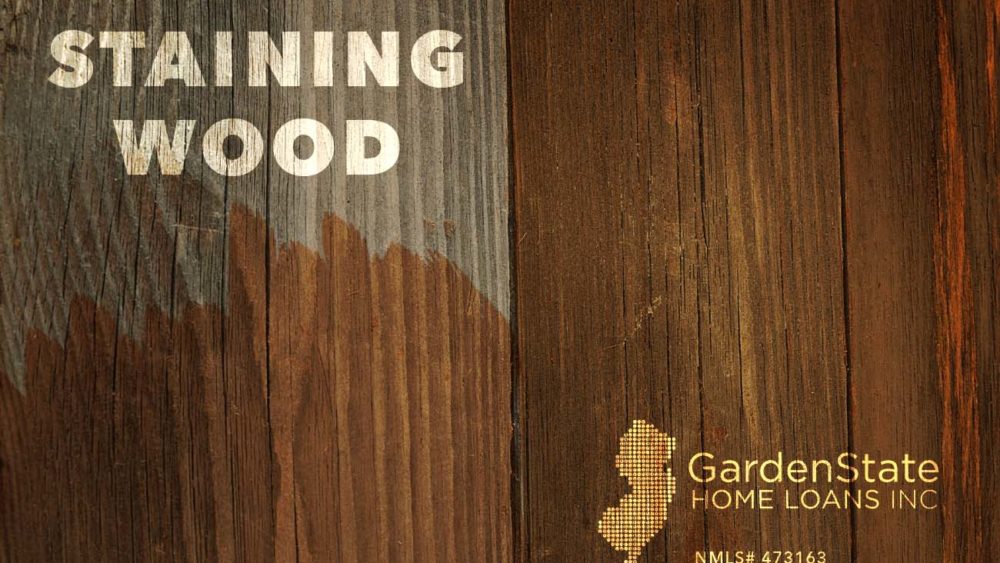
Do you have an old piece of wood furniture that looks like it could use a little sprucing up? Instead of going out and purchasing a new piece of furniture, consider staining the wood to create a new look to an old piece. Here’s what you need to do!
How to Stain Wood Furniture:
Step One: Prepare the wood
Prepare the wood by sanding it with coarse sandpaper. Next, sand again with a medium or finer grit sandpaper. Make sure you are sanding with the grain of the wood. Between each sanding, use a tack cloth to clean off dust. Keep sanding until the wood is smooth and even to the touch. After you are finished, clean the wood with a rag or sponge and mineral spirit. This brings out color variation in the wood. To finish off the preparation of the wood, apply a wood conditioner and let it sit for about fifteen minutes.
Step Two: Stain the wood
Before staining the actual furniture, test out the stain on a piece of scrap wood to see whether or not you like it. The stain should be shaken or stirred before the stain is applied. You can use a rag, brush, or soft sponge to apply the stain. Move with the grain while staining, not against it. The longer the stain stays on, the darker the finish of the stain will be.
Step Three: Finish the surface
After the stain has dried, apply a finish to protect both the wood and the stain. There are multiple different finishing options, depending on how you want the end result to be. Polyurethane is one of the most popular finishes used today because of its durability.
Tips for staining wood
- Oil-based stains are most commonly used to stain wood consisting of dyes and spirits, and mixed in with mineral spirits.
- For a deeper tone, leave on a stain for five to ten minutes before wiping it off. If you want a lighter tone, wipe it off immediately after putting it on.
- Wipe off any excess stain with the grain to guarantee that the stain will get into the wood.
- Water-based stains are good to use if you want to avoid fumes. Additionally, water-based stains come in a variety of colors. A water-based stain should be applied the same way an oil-based stain is applied.
- It’s possible to mix stains together to create a custom color. Just make sure that the stains are made by the same company, and that they are both either oil-based or water-based. Do not mix an oil-based stain with a water-based stain, or vice versa. If you are going to make a custom stain, make sure to measure and record the amount of each stain you use so you can remake it if needed.
- A water-based finish can be used over an oil-based stain. However, you should first wait a full 24 hours to make sure that all the mineral spirits in the oil-based stain have evaporated. If it has been raining, wait another 24 hours.
- Keep your old cans of stain! Stains can be expensive but they can keep well. Rule of thumb: if you open the can and there’s a film on top, toss it. Otherwise, it’s good to go for another use.


Comments are closed.