Storm windows provide great thermal insulation and soundproofing, especially for the colder months. A storm window is a window mounted on the inside or outside of the main glass windows of a home. Here’s how to install storm windows into your home.
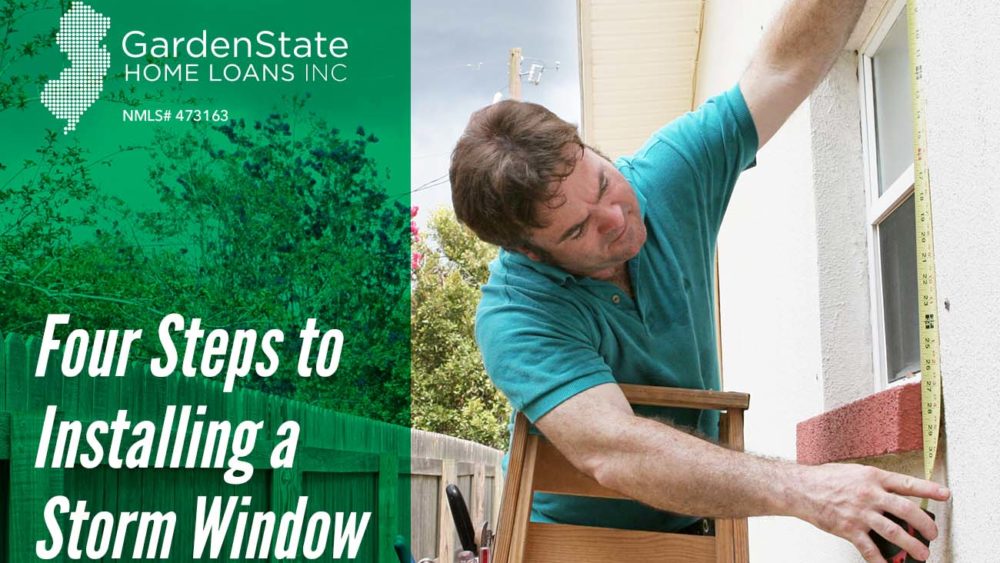
Step One: Take Measurements
First things first, measure your window so you know what size window to order! Measure the width of the inside of the window jamb at the top, middle, and bottom. Then, measure the height at the center and at the left and right sides. When ordering your windows, take the smallest reading in each set. Most suppliers will order to the closest 1/8” when ordering windows, and it’s always best to be on the smaller side than on the larger. Once your window arrives, make sure it’s the right size.
Step Two: Apply Caulking
Apply a thin layer of caulk to the outer edges of the window stop at the top and on the sides. Make sure to apply the caulk as evenly as possible. The bottom of the window should not be caulked, as you need to leave room for rain and moisture to run off.
Step Three: New Window
Insert the new window into the opening. Be sure the window is centered between each side stop.
Step Four: Fasten the Window
Most windows are predrilled. If your window is not, drill holes centered over the window stops and 12” apart. Afterwards, use 1” sheet-metal screws along each side of the window to fasten the window into place, working from the top to the bottom.


Comments are closed.